
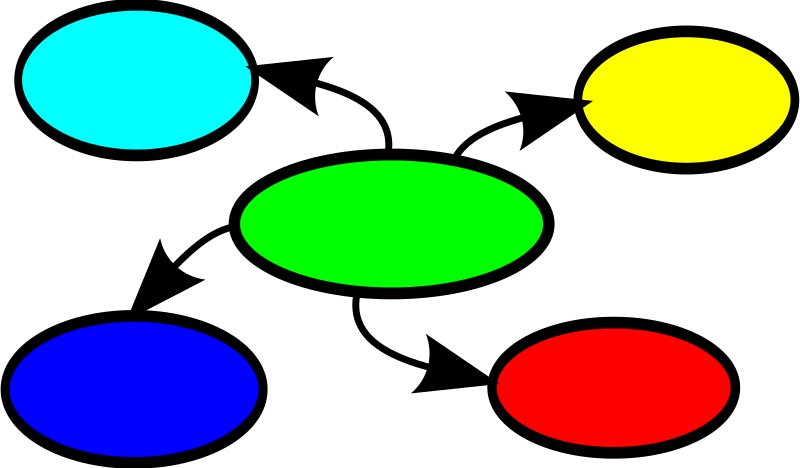
Step 1: Brainstorming ideas
 Source: https://openclipart.org/image/800px/svg_to_png/95221/mmap.png
Start by drawing a mind-map in your process journal. Consider topics in which you have a keen interest, skills you wish to develop, and what product or outcome you wish to create.
You will have to sustain your work on this topic for a prolonged period of time so choose wisely!
During this step you may have to conduct some RESEARCH about various topics. Remember to record everything!
You will have to sustain your work on this topic for a prolonged period of time so choose wisely!
During this step you may have to conduct some RESEARCH about various topics. Remember to record everything!
Step 2: Define a clear goal
In your process journal discuss exactly what it is you wish to create, and how this is of personal interest to you.
Answer the questions: Who? What? Where? When? Why? and How?
Answer the questions: Who? What? Where? When? Why? and How?
In order to achieve the top grades for Criterion A (i); it is very important that your goal be HIGHLY challenging FOR YOU as an individual. You will need to determine for yourself what makes it highly challenging for you and MOTIVATE why it is highly challenging in the report.
* Ask you supervisor for some ideas if you are unsure.
* Ask you supervisor for some ideas if you are unsure.
Here are some examples of goals which were considered challenging, but were extended to be highly challenging:
Challenging goal |
Highly challenging goal |
A student documents his/her self-taught skills of photography. |
A student documents his or her neighbourhood through a photography exhibition. |
A student creates a durable bag using second hand materials. |
A student creates a range of bags using second-hand materials to exhibit at the local arts centre. |
A student writes an article on a topic of interest for a journal (school/academic/special interest) and submits it to an audience. |
A student writes and publishes an original book length feature on a topic of interest. |
(IBO Projects Guide 2014, p 42)
Step 3: Select the global context
The global context, chosen by you, provides a context for inquiry and research in the project.
You should choose only one global context to define your goal. In most cases, other global contexts may be relevant, but the identification of one context will give your project a specific focus.
In you process journal, discuss in specific detail how the global context will be covered throughout your project. In other words, determine the area of exploration.
Answer these questions for yourself:
- What product or outcome do I aim to achieve?
- Who is my audience?
- What do I want others to learn through my project?
- What impact should this product or outcome have on others? e.g. will it improve their quality of life?
- How can this global context guide my work?
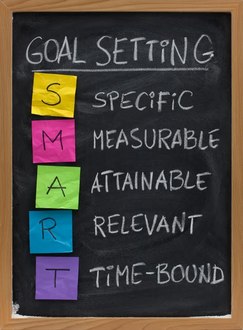
Step 4: Revisit your goal
At this point, it would be a good idea to use your knowledge of SMART goals to reassess and redefine your initial goals, by aligning them to the global context and area of exploration determined in Step 3.
Source: http://worldartsme.com/images/people-smart-goals-clipart-1.jpg
Step 5: Identify prior learning
Also known as, subject-specific knowledge, prior learning refers to the skills you my have learned in your academic subjects which will assist you with completing this project. It also indicates what knowledge you already have about a particular topic, and will allow you to determine where you may need to conduct more research.
For example: In English and Humanities, I have learned to write structured arguments with a clear thesis. This will assist me when writing the final report, as I will constantly have to refer to the proposed goal throughout the report, much like I would with a thesis.
Record your thoughts in your process journal.
Step 6: Research
Conduct and keep records of all your research in order to demonstrate your inquiry skills. Again, this should be recorded in the process journal!
You must select relevant and reliable information from a variety of sources to develop the MYP project. The number and type of resources will vary depending upon the nature of your project; however, to reach the highest levels of achievement through investigating, you must select a range of sources and a variety of source types. A good formula for success would be to ensure you have, at least:
Your ability to evaluate the reliability of sources should be developed through ATL skills, particularly information and media literacy skills. You should consider factors such as:
In addition, you must demonstrate evidence that you have evaluated the integrity of your chosen sources, in order to reach the highest grade boundaries. This should be documented in a Process Journal entry or as an appendix in the report.
Available sources may include your prior knowledge, as well as primary and secondary sources such as: subject-area content, significant people, survey data, published media, internet resources (providing a variety of resources), video or audio recordings, and images.
Although you may include your prior knowledge as a source, it alone does not provide sufficient depth or breadth of inquiry for the project.
While you are required to select sources during the initial stage of their project, research and evaluation of sources will continue during the process of completing the project. You should consistently record information collected from these sources in your process journal, along with annotations and possible uses.
* REMEMBER: It is essential that you are academically honest and that you use the MLA referencing format!
You must select relevant and reliable information from a variety of sources to develop the MYP project. The number and type of resources will vary depending upon the nature of your project; however, to reach the highest levels of achievement through investigating, you must select a range of sources and a variety of source types. A good formula for success would be to ensure you have, at least:
- 1 – 3 primary sources AND
- 4 – 8 secondary sources
Your ability to evaluate the reliability of sources should be developed through ATL skills, particularly information and media literacy skills. You should consider factors such as:
- credibility of the author,
- currency,
- accuracy,
- relevance,
- intended audience, and
- objectivity of the source
In addition, you must demonstrate evidence that you have evaluated the integrity of your chosen sources, in order to reach the highest grade boundaries. This should be documented in a Process Journal entry or as an appendix in the report.
Available sources may include your prior knowledge, as well as primary and secondary sources such as: subject-area content, significant people, survey data, published media, internet resources (providing a variety of resources), video or audio recordings, and images.
Although you may include your prior knowledge as a source, it alone does not provide sufficient depth or breadth of inquiry for the project.
While you are required to select sources during the initial stage of their project, research and evaluation of sources will continue during the process of completing the project. You should consistently record information collected from these sources in your process journal, along with annotations and possible uses.
* REMEMBER: It is essential that you are academically honest and that you use the MLA referencing format!
Some questions to ask yourself when evaluating sources:
Authority – Who is responsible for presenting this information?
Authority – Who is responsible for presenting this information?
- Who has written or provided this information and can you check their qualifications?
- Is the information from an ‘expert’ in this field?
- Is the information correct?
- Can you check the accuracy of information through links, footnotes and bibliography?
- Is there personal bias?
- Can you verify that facts, statistics and links to sources are accurate and truthful?
- Has the author(s) provided a date for when the information was written?
- Has the information been revised or updated, and if so, when?
(England, Laura. 2015)
Step 7: Develop criteria
As part of the goal, you will have to determine your final product or outcome. It may be an original work of art, a model, a business plan, a campaign, a blueprint or architectural drawing, an essay, a course of study, a debate, a film or some other work.
You then need to define realistic criteria against which you will assess the final product / outcome. This will assist with determining the quality of work you have completed, as well as whether or not you have met your initial expectations once the product / outcome is complete. An easy way of doing this would be to take the existing assessment criteria, and determining what you would expect to see within in each marking band.
For example: my goal may be to design a personal fitness programme to prepare for a half-marathon. My project is aiming to increase my fitness by successfully running a half-marathon. My criteria, therefore, may include a proposed training programme and nutrition plan, along with projected running times, and the final time I am aiming to achieve when I compete. I could then document my outcome in a fitness chart, or diary entires; and include a series of photos or videos as evidence. At the end, it will then make it easier for me to look back on my initial planning and determine whether or not my project was successful.
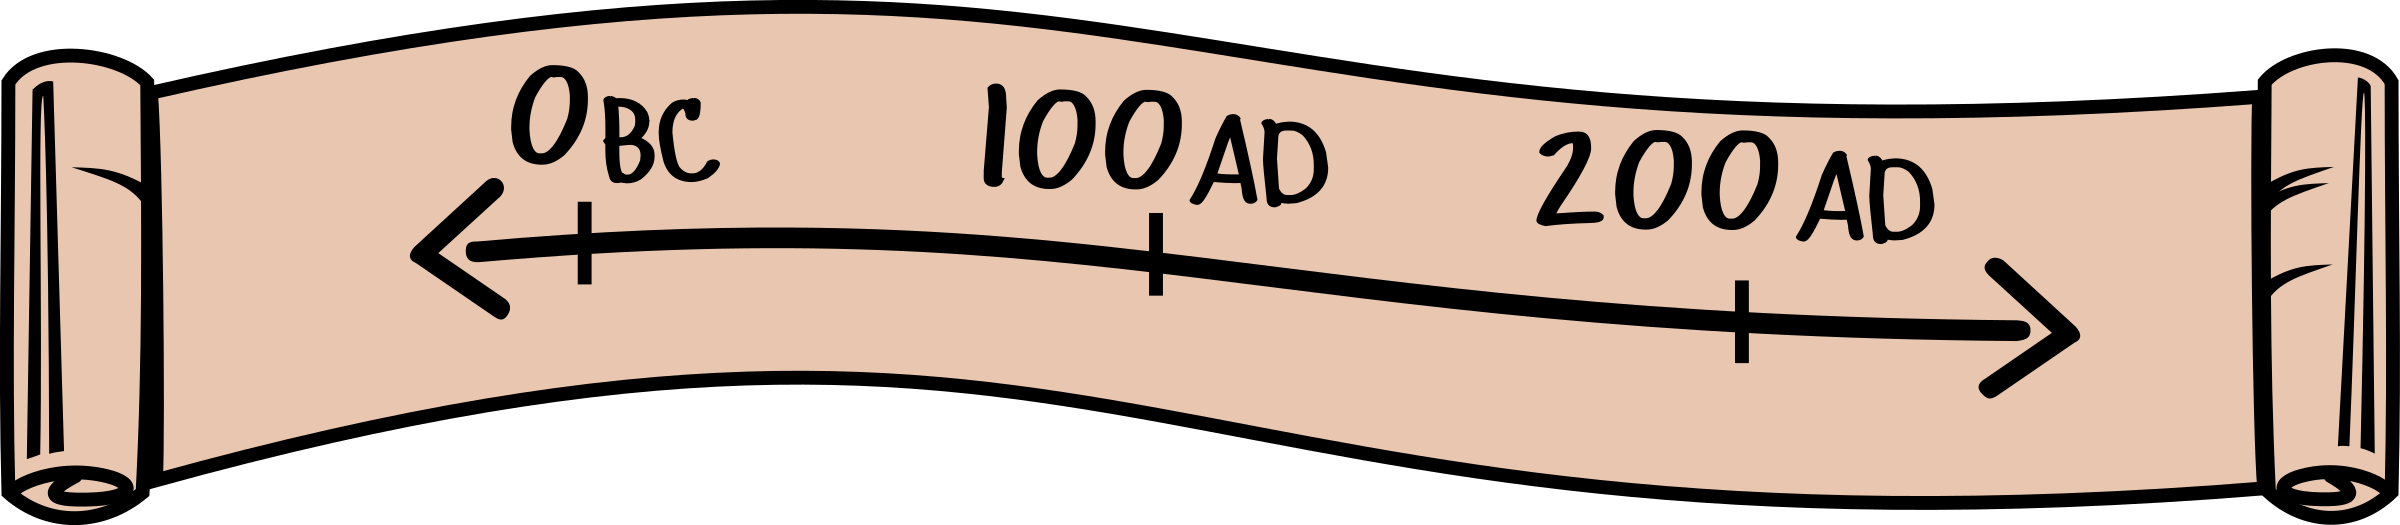
Step 8: Create a timeline
By creating a timeline it will assist you with being more organized, and it will allow you to effectively reevaluate whether or not you are on track. You can also use this to reflect on your development of self-management ATL skills.
Source: https://openclipart.org/image/2400px/svg_to_png/193015/timeline.png
Step 9: Create the product
This is the fun part! You finally get to put all your research and planning into action!
During this step, you may encounter challenges - demonstrate your problem solving skills. Record and reflect on the process in your journal. Discuss changes you may need to make and why.
During this step, you may encounter challenges - demonstrate your problem solving skills. Record and reflect on the process in your journal. Discuss changes you may need to make and why.
Do not only focus on the positives in your reflections. Our experiences as humans are never perfect, and there will always be areas for improvement. Your reflections should indicate that you are able to identify areas for improvement, as well as suggest ways in which you could implement those changes in future.
Step 10: Evaluate the product
 Source: https://openclipart.org/image/800px/svg_to_png/191354/Good-Grade.png
Using your assessment criteria which you created in Step 7, evaluate your final product and determine whether or not it met your expectations.
Grade yourself with the rubric you created AND write justifications for why you chose to award yourself those marks. This needs to be documented in your process journal. If you have not awarded yourself the top levels of achievement you need to explain why, and suggest ways you could improve in future.
Grade yourself with the rubric you created AND write justifications for why you chose to award yourself those marks. This needs to be documented in your process journal. If you have not awarded yourself the top levels of achievement you need to explain why, and suggest ways you could improve in future.
Step 11: Final reflections
As usual, these reflections should be documented in your process journal.
Consider the following:
Consider the following:
- how has completing the personal project extended your knowledge and understanding of the topic of your product/outcome?
- how has completing the project extended your knowledge and understanding of the global context you selected?
- how has the process developed you as an IB Learner?
- Which ATL skills have you developed and how during the course of the project?
Step 12: Writing the report
A report is a spoken or written account of something observed, heard, done or investigated. A report aims to inform, as clearly and succinctly as possible. The MYP personal project report demonstrates your engagement with the personal project by summarizing your experiences and skills recorded in the process journal.
The report should be presented in identifiable sections. (See format guide below)
You should take into consideration your learning preferences, personal strengths and available resources when deciding on the best format for the report. The ability to communicate clearly and concisely is essential to demonstrate the elements of the report and reach the highest levels of the criteria.
Possible formats for the MYP personal project report are divided into four main areas: written, electronic, oral and visual.
Format |
Length - English, French, German and Arabic |
Written |
1,500 - 3,500 words |
Electronic (Website, blog, slideshow) |
1,500 - 3,500 words |
Oral (podcast, radio broadcast, recorded) |
13-15 minutes |
Visual (Film) |
13-15 minutes |
(IBO Projects Guide 2014, p 45)
All written reports should be 12 point font, 1.5 spacing, have numbered pages and a header with the candidate’s name and homeroom.
Reports should also feature subheadings and include the following information:
MYP REQUIRED FORMS:
TITLE PAGE:
TABLE OF CONTENTS:
SECTION A: INVESTIGATING
SECTION B: PLANNING
SECTION C: TAKING ACTION
SECTION D: REFLECTING
APPENDICES: MAX OF 10 PAGES!
Reports should also feature subheadings and include the following information:
MYP REQUIRED FORMS:
- Moderation Coversheet: Personal Project
- MYP projects academic honesty form
- Screen shot www.turnitin report
TITLE PAGE:
- Project title
- Name and homeroom
- Word count
- An illustration of the product/outcome
TABLE OF CONTENTS:
- Neatly formatted with page numbers
SECTION A: INVESTIGATING
- Goal and global context for the project defined
- Prior learning and subject specific knowledge identified and discussed
- ATL skills of information and media literacy skills addressed
SECTION B: PLANNING
- Describe the success criteria for your product/outcome
- Plan and record the development process of the project
- ATLs skills of self-management need to be addressed
SECTION C: TAKING ACTION
- Record the steps you took to complete your product/outcome and show evidence of your completed outcome/product in your appendix
- Make explicit the links between your product/outcome and your goal, global context and criteria
- Demonstrate the ATLs of thinking, communication and social skills.
SECTION D: REFLECTING
- Evaluate the quality of the product against the criteria
- Reflect on how completing the project has extended their knowledge of the topic and the global context
- Reflect on development as IB learners through completing the project.
APPENDICES: MAX OF 10 PAGES!
- MLA Reference page, in-text citations/footnotes/endnotes are also fine
- Process journal extracts that exemplify your knowledge, process and skills
- Your criteria if you didn’t include it in the report
- Five images/ evidence of the product/outcome or 30 seconds of video
* You will be given samples of previous projects, as well as the student/s' reflections during specific training sessions with the supervisor and Projects Coordinator.
Step 13: Present your work
At the exhibition, you will get a chance to show off your hard work to your teachers, supervisor, peers, and family.
Remember that it it your responsibility to come prepared on the day. Things to consider:
The exact expectations for the exhibition will be conveyed to you through your Projects' Coordinator.
Remember that it it your responsibility to come prepared on the day. Things to consider:
- How will I make my stand attractive and encourage people to visit me?
- What resources may I need? e.g. tape, table cloth, devices, headphones, chargers, extension cables, etc.
- Will people be able to hear me presenting? If not, what could I do to improve that?
- How will I display my product?
The exact expectations for the exhibition will be conveyed to you through your Projects' Coordinator.
